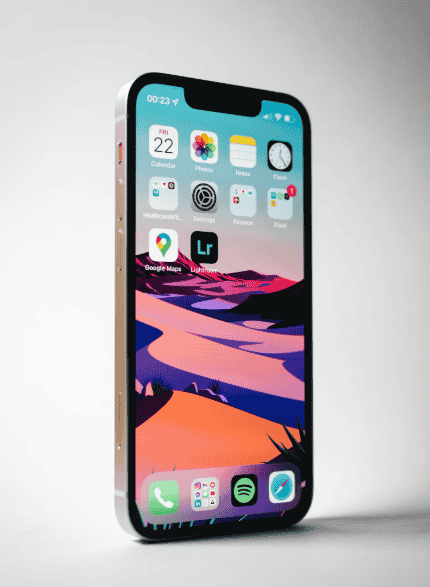
Modern smartphones come with a range of accessibility features designed to make the devices more inclusive and user-friendly for individuals with different needs. Two of the most prominent tools in this category are AssistiveTouch on iOS and the Accessibility Menu on Android. Both features are intended to help users navigate their devices with greater ease, particularly for those with physical disabilities, limited dexterity, or other challenges that make traditional touchscreen interactions difficult.
AssistiveTouch on iOS provides a virtual button on the screen that acts as a shortcut to various functions, such as taking screenshots, locking the screen, or accessing the Control Center. Similarly, Android’s Accessibility Menu offers an on-screen menu that grants quick access to essential functions like volume control, notifications, and device navigation. In this article, we’ll explore how to enable these features on your device and discuss how they can improve your smartphone experience.
Enable AssistiveTouch on iOS: A Guide to Effortless Interaction
AssistiveTouch is a built-in accessibility feature on iPhones and iPads that allows users to perform a variety of tasks without relying solely on physical buttons or gestures. This feature is especially useful for people who have difficulty pressing buttons or performing complex touch gestures.
Steps to Enable AssistiveTouch on iOS
- Open the Settings App
Start by unlocking your iPhone or iPad and opening the Settings app. This can be accessed directly from the home screen or app library. - Go to Accessibility Settings
In the Settings menu, scroll down and tap on Accessibility. This section houses various features designed to assist users with vision, hearing, and physical or motor challenges. - Select AssistiveTouch
Under the Touch category, you will find the option for AssistiveTouch. Tap on it to open the settings page. - Enable AssistiveTouch
Toggle the switch next to AssistiveTouch to turn it on. Once activated, a floating button will appear on your screen. This button can be moved to any edge of the screen for convenience. - Customize the AssistiveTouch Menu
You can customize the menu to include shortcuts to frequently used functions. Tap Customize Top Level Menu and add or remove options such as Home, Siri, Screenshot, and more. You can also adjust the number of icons displayed. - Use AssistiveTouch for Quick Navigation
With AssistiveTouch enabled, tap the floating button to access the menu. This feature allows you to navigate your device, lock the screen, control volume, or even perform custom gestures with a single tap.
Benefits of AssistiveTouch
- Ease of Use: Simplifies navigation for users who have difficulty using physical buttons.
- Convenience: Provides quick access to essential functions like screenshots or Siri.
- Customizability: Allows users to tailor the menu according to their specific needs.
AssistiveTouch can also be combined with other accessibility settings, such as VoiceOver, to provide a seamless and inclusive experience for users with various challenges.
Enable Accessibility Menu on Android: Simplify Your Smartphone Experience
Android’s Accessibility Menu is a powerful tool that allows users to access essential device functions without relying on physical buttons or complex gestures. It provides a simple, on-screen menu that makes navigating your smartphone much easier.
Steps to Enable Accessibility Menu on Android
- Open the Settings App
Unlock your Android device and open the Settings app. You can find it in the app drawer or by swiping down the notification bar and tapping the gear icon. - Navigate to Accessibility Settings
In the Settings menu, scroll down and select Accessibility. This section contains various tools for enhancing usability and making the device more accessible. - Find and Select Accessibility Menu
Under the Interaction and Dexterity or Installed Services section (depending on your device), look for Accessibility Menu. Tap on it to proceed. - Activate the Accessibility Menu
Toggle the switch to turn on the Accessibility Menu. You may be prompted to allow certain permissions—grant them to enable the feature. - Use the Accessibility Menu Shortcut
Once enabled, a small accessibility icon (shaped like a person or figure) will appear on your screen. Tap this icon to access the menu, which includes shortcuts to volume control, screen brightness, recent apps, power options, and more.
Customizing the Accessibility Menu
Some Android devices allow you to customize the items available in the Accessibility Menu. You can reorder the options, add new shortcuts, or remove functions you don’t use frequently, ensuring the menu is tailored to your needs.
Benefits of Accessibility Menu
- Improved Navigation: Simplifies complex gestures and eliminates the need for physical buttons.
- Convenience: Offers quick access to device controls such as notifications and volume.
- Adaptability: Suitable for users with physical disabilities or those who prefer simplified controls.
Additional Tips for Using AssistiveTouch and Accessibility Menu
- Combine Features for Enhanced Usability: Both AssistiveTouch and Accessibility Menu can be paired with other accessibility features like screen readers (VoiceOver on iOS or TalkBack on Android) to provide a comprehensive solution for users with diverse needs.
- Explore Automation Options: iOS users can link AssistiveTouch to specific tasks using Siri Shortcuts, while Android users can integrate the Accessibility Menu with custom settings for an even more personalized experience.
- Optimize Device Settings: Use other accessibility features like Font Size Adjustment, Color Correction, or Magnification alongside these tools for a complete accessibility setup.
Conclusion
AssistiveTouch on iOS and the Accessibility Menu on Android are indispensable features that make smartphones more accessible and user-friendly for individuals with physical disabilities or those who simply prefer an easier way to navigate their devices. By enabling these features, you can enjoy a more intuitive and customized smartphone experience, reducing the reliance on physical buttons and complex gestures.
Whether you’re an iOS or Android user, taking a few minutes to activate and personalize these tools can significantly enhance your device’s usability. These features reflect the commitment of smartphone manufacturers to inclusivity, ensuring that technology is accessible to everyone, regardless of their physical abilities.
